Wednesday, March 30, 2011

miniature birdhouses

Hey guys!!

So I've been a little busy while we are trying to get ready for the wedding and moving. I did manage to get one bird house painted last night, this isn't one that I planned on using for the wedding, but I might! I love the new paint colors I picked up!


Oh, and by the way these pictures were taking with my phone, on the dash of my car at 6:30 in the morning before my morning walk to work from the parking garage. (did I mention I was busy?) lol


Have any questions or comments? Let me know! :)

Monday, March 28, 2011

wedding paintings

Hey guys!!

Great to see so many new followers!! For those that left their link I am also a follower of your blogs now too!!

When I get to 25 followers a random giveaway will happen! :) Feel free to invite your friends!

So today, I decided I wanted to paint a little bit. I love to paint, I am not an expert, and I am certainly not the best painter there is. My wedding is coming up in FIVE months (OH WOW!), and I would love to be able to relax from decorations the few weeks before the wedding, and the weather has been so nice, so I thought I would go ahead and paint a few things. :)

I whipped out my acrylics, and went to town on this little birdhouse gazebo that I bought a few of for center pieces... :)


We are using a lot of birds and butterflies, and purple hydrangeas. :) I like the way this turned out, and after I got to painting it went so quickly.


I used an antique white for the base, and a periwinkle color, and combined a cranberry and white to get my other shades of purple. Mixed a few colors to get the green, and voila! oh, and of course I added some ribbon. (It's the scrapbooker in me *tee-hee*)


I think I have 6 more of these big ones, and about 10 small bird houses. For show I put in a tealight, but we actually have battery powered votives for these that are really neat looking. I have no intentions of lighting a candle inside a piece of wood. ;)

Questions? Comments? Leave them below! They are all welcome!!

Thanks so much!

Friday, March 25, 2011

Shaped Cards Matryoshka Dolls

So I have really been craving a gypsy right now to make shaped cards. For some reason they have been really super cute to me lately. Alas, I do not own a gypsy, and can't purchase one. :( BUT I made a few shaped cards using my NESTIES! and I LOVE the way they came out!!


So the cards came out adorable!! The matryoshka dolls are from a Hero arts stamp set, and they were embossed with marcacite embossing powder before being colored with bic markers.


This was a project for work, everyone decorates their team areas, and we happen to be the Thundercats, so one of these says "Thundercats", and one say "welcome to the lair". :) They were a big hit with my team, but I couldn't get a great picture of them.

Comments appreciated! :)

Tuesday, March 22, 2011

happy birthday- Birthday Sundaes

This card was made for the Birthday Sundaes first ever challenge. It's been a long time since I sat down to make something with my cricut that wasn't wedding related, and being out of practice can get frustrating!! I could not believe how much I had forgotten about how the functions worked!! >.<


This card was made using the country life cartridge for a 3" strawberry, the largest scalloped oval nestie I had, and the sentiment "happy birthday" was from a studio G stamp. The strawberry paper is from the berry sweet collection from K and Company. It's hard to see but the paper is embossed with the "happy birthday" embossing folder. I used my favorite white gelly roll pen for accent.

Also, I didn't take a picture of it but on the inside the card reads " Hope it's BERRY special" with a stamp that I created.

It was all REALLY simple, just the way I like it, and hopefully I will be back into the groove of things and post something more frequently. :)

Also, I still have that 6x12 cricut mat that is unused if anyone would like it!

LoveMusicDesigns at yahoo dot com

All comments, appreciated! :)

Free stuff

Hey all!

I was cleaning out my stuff last night, and there are lots of things that I don't need or I have two of. I found one 6X12 cricut mat, and I have no idea why I have it as I have NEVER owned a cricut personal cutter, and why there is only one in the package, however, if you would like it, I will happily mail it to you for free. Just let me know.

lovemusicdesings at yahoo dot com

Monday, March 21, 2011

organization IS key!!


I love this weather!! I don't know about where you are but in West Virginia, it is wonderful out!! Spent the whole day on the farm yesterday, found lots of arrow heads and played with the animals!

Today was all about shopping! lol

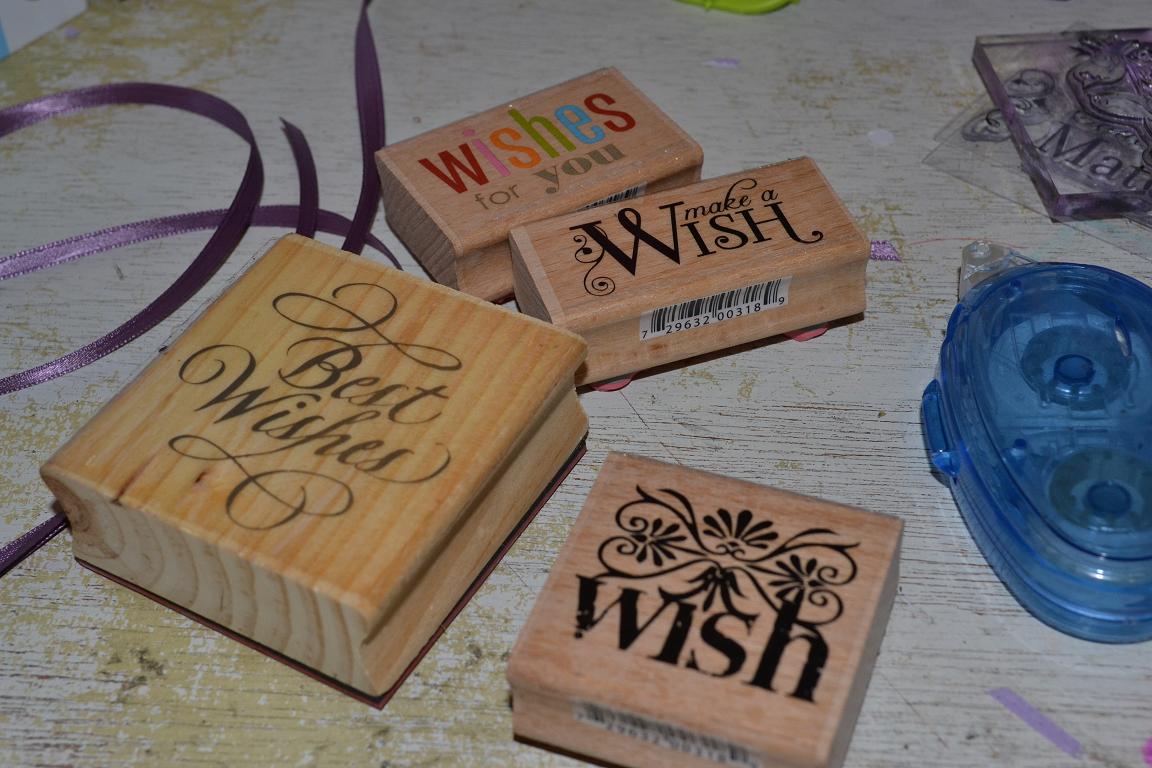
I got these cute paper medallions for .49 cents today at Michael's, they don't have a purpose yet, but they will. :)

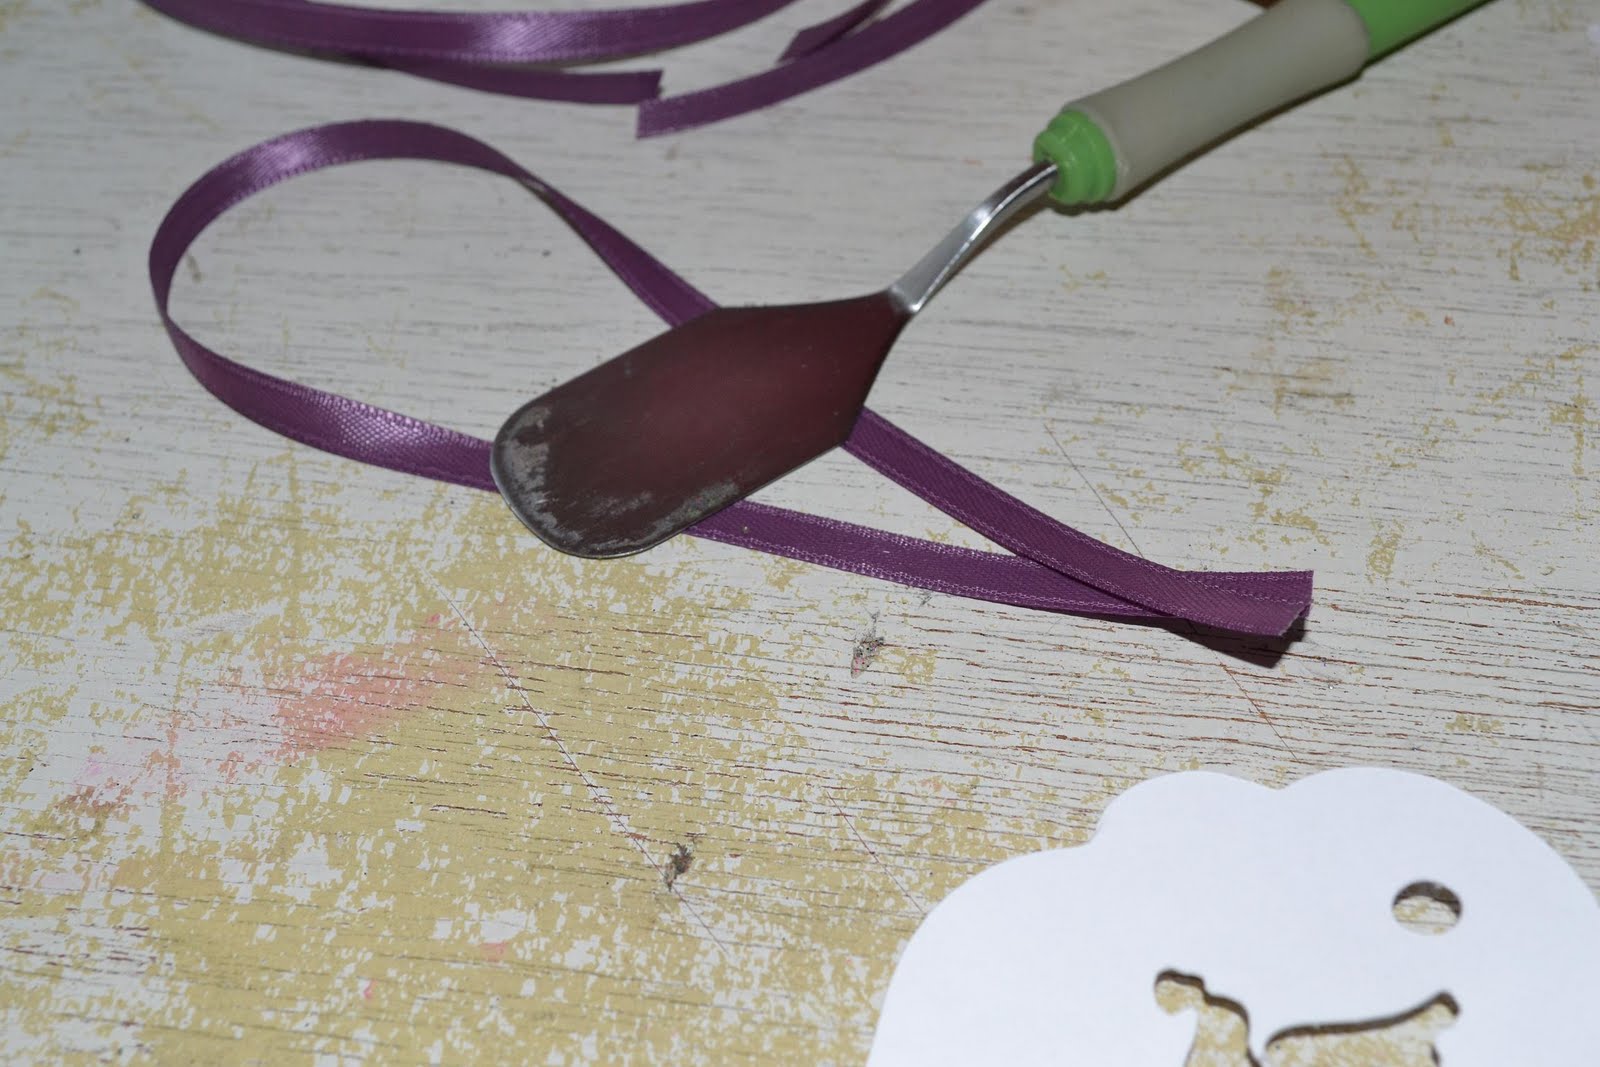
So, Ive been trying several different decor ideas for the wedding, and this was one I played with... I took tissue paper and nesties, and put them together with small brads, ribbon, and a Styrofoam ball.


This also used Nesties, and a brad, various shades of white and purple, rubbed with lilac ink.


This was a GREAT idea I stumbled upon last evening at JANIS' blog.


I went to Office Depot and bought a package of 200 sheet protectors for around $15.00. I'm sure you can find them cheaper, but I was too tired to go search them out, and avoid the dreaded Wally world at all costs.
I arranged mine by color, rather than make, I already had such a mess I had no idea where they had come from. Instead of putting them on the shelf with the binding side out, I wanted to be able to see the colors.


While I was showing organization, I thought I'd share how I store my solutions cartridges:

I took some sticky velcro, and cut ~ 1/2 inch piece and stuck one side to the cart and one to the inside of a pencil box. (I use a pencil box because they are approximately the same size as the reg cart boxes)

Then of course I label it!
As you can see here, these are some of the carts I use frequently so they stay in a roller cart by my desk, and I change them out as the seasons change. (all of the christmas and fall ones are on the shelf, but still accessible)
You might notice, that they all have labels on them as well, this is because its actually hard to read their spines when they are laying all stacked like that, so I just added a label to the end that I can see easily. :)
Oh! AND, I actually got something made today...
This used an upcycled greeting card, and my zutter bind it all, I cut pages to fit, and rounded their corners, and added the little orange ribbon. :) I love the sentiment! "Be Adventurous"


That's all for tonight!

Comments, and feedback greatly appreciated!
Have better ways to do things? LET ME KNOW!! :)


Thursday, March 10, 2011

Save the Dates and Envelope seals


So I finished making ALL of my save the dates today, and the seals to go along with.

I printed my save the dates four to a page, and cut them out.


Then I rounded the corners with my paper gator (that I am very sad I can no longer buy blades for) and embossed the paper with a cuddlebug folder. Since I had so many to do, I actually embossed two at a time since the cardstock was thin. Doing two at a time made one impression less sharp, but not nearly enough to make a difference, and I had so many to do! lol, my arm is still feeling it... ;)

Then, I cut backing for them out of a plain purple carstock to make the cards more durable feeling, and to really give them a finished look.


After, I matted them to the purple, I thought ribbon would be a great finishing touch. So I ran it in strips through the xyron, (which i dont recommend it jams it up) that got one side sticky, I had a small struggle trying to get it through, but in the end I won. :)


Here are the three basic stages...

And here's the finished product, I absolutely love it. :D


Just in case you are wondering, the purple cardstock is the walmart brand out of the stationary section, the white is Wasau brand cardstock, in stardust. (despite the name stardust, its not glittery, more so a recycled look with flecks of other colors.) The ribbon is crazy cheap offray ribbon, that I picked up 5 for 1.00, in two different colors. I just printed the image from open office on my computer.


I cut out birds at 1.25 inches, and xyroned them on one side to sugar them, and then again on the opposite side to make them seals for the envelopes. :)


Tuesday, March 8, 2011

Wedding tags, votives, and seals

So I just had to get some of my simple ideas out of my head tonight, so after work I marched straight up to my studio and started working with ideas. I designed my save the date, and am roughly coordinating everything with it. So tonight, I worked on some envelope seals since my save the dates will go out next week. I also worked on tags for the wishing tree, and an idea for the plain votive holders I picked up, that I will make more variations on as I go. All of my tables will be slightly different which thrills me, and makes my mom crazy, lol. I love the idea that there will be something new to discover at each seat. :) I also worked on punching some table scatter...


So I used the tie the knot cartridge....
I cut dove 1 at 1.5 inch, then ran it through the xyron to sugar it in purple glitter, and then ran it through again to make it into a sticker so I could use them on the backs of the envelopes.


I used the same cart for the wishing tree tags, and cut a few variations on them, at 3" which makes them a great size for the stamps I embossed them with, and still have plenty of room to write lovely messages! :)


After I cut the tag, I cut a coordinating ribbon, in my case they were approx. 6", then I crossed the ribbon as shown so a little of both sides was showing on the ribbon, then instead of tying a big knot, because I didn't like the look of it,I used some glue runner and threaded the ribbon through and stuck it to itself.


so then i grabbed all the stamps in my collection that had something about wishing on them...

and grabbed my brand new embossing gun, and embossing powder, (how have I ever gone without this?) and went to town!! They are absolutely stunning, and I am soooo excited!!
I used a purple gel pen in a coordinating color to write on it, just to test it out, I will def. be buying some pens to use at this table!! :)

At Michael's the other day I picked up this entire case of votive holders for $4.99, a steal compared to reg. price, and I had no idea what I was going to do with them, and still haven't fully decided.

So I grabbed some punches. (IF YOU ARE BUYING PUNCHES, GET THE LEVER ONES!!!! THEY ARE SO MUCH EASIER THAN THE BUTTON PUNCHES) and cut out a few from plain computer paper, and xyroned (?) them and stuck them to the votives...


So I like the idea, and I only made one, and I am going to take it and run with it, light purple vellum would be great, and other shapes, birds probably. Possibly something more ornate? Im not sure yet, feel free to leave ideas. :)

So also with the punches, I thought I would make some table scatter... and I added in the birds that were left from the tags I cut earlier. :)


So thats all i've made so far, but im working up more ideas, hopefully to come soon!
All ideas, comments, and feedback are welcome!!


Wedding Fever...

So since I've been neglecting my blog a LOT has been happening. I have a permanent job, a new car, plans to build a house, and just got engaged. In light of this new engagement, I will be crafting GALORE, and would love to share, get feedbacks, suggestions, and see what others have done with their bugs for wedding accessories.

You should see the piles of stuff I've already bought, mind you I've been engaged less than 1 month, and am getting married 8/27/11. Busy busy busy, just the way I like it!